
 Bookmark
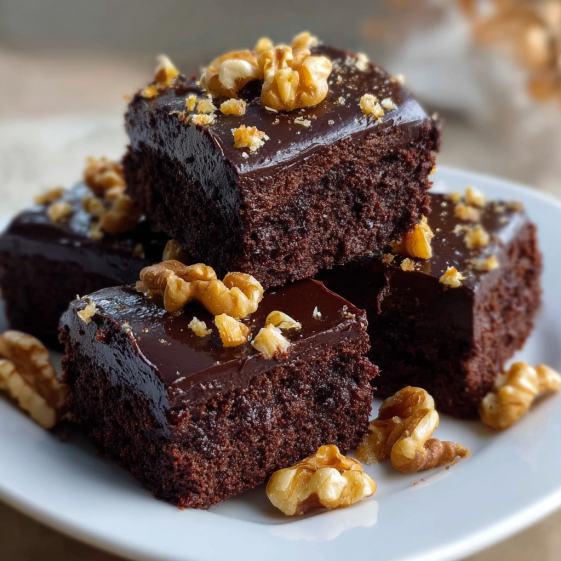
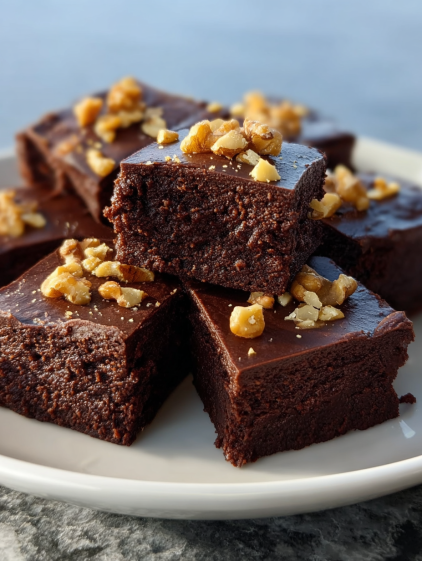
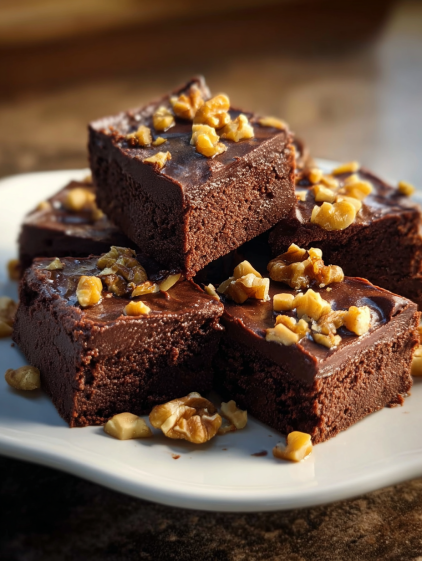
This microwave chocolate fudge is my not-so-secret dessert rescue for last-minute cravings or when I want to make my family smile with something rich and chocolatey. The first time I tried it during a busy holiday week, I could not believe how such a simple process could taste so indulgent. My kids now request it for movie nights and it has saved me more than once when surprise guests dropped by.
I remember making this fudge the first time with my niece who could not believe it was ready before her cartoon was over. Now it is the first dessert she asks to make whenever she visits.
Ingredients
- One cup condensed milk: provides richness and helps the fudge set to its silky texture and sweetness. Look for brands with only milk and sugar for best flavor
- One cup sugar: gives that satisfying sweetness use regular granulated
- Half cup butter: brings everything together and gives a luxurious smoothness. Try to use real butter not margarine for best results
- Half cup cocoa powder: is the chocolate powerhouse for this recipe. Choose a good quality unsweetened cocoa for deep flavor. Natural or Dutch process both work
- One cup nuts: completely optional but highly recommended for crunch and a flavor boost. Toast your nuts for even more flavor or use whatever nuts you love best
- If you skip nuts: try adding dried fruit or even mini marshmallows for a twist
Instructions
- Preparing the Ingredients:
- Gather all your ingredients and equipment ahead. Start by lining a square pan with parchment or using a silicone mold for easy removal. I lay everything out before starting because the recipe moves quickly
- Mixing the Ingredients:
- Add the condensed milk sugar and butter to a deep microwave safe bowl. Make sure your butter is at room temperature so it blends easily. Stir together until just combined then add the cocoa powder gently fold until no dry streaks remain. Scrape the edges so all cocoa is mixed in. This ensures each bite is rich and chocolaty with no lumps
- Microwaving:
- Place the bowl in the microwave and heat on high for two minutes. Carefully remove the bowl with oven mitts as it can get hot. Stir thoroughly. You will notice the mixture looks silkier. Place it back in the microwave for another two minutes. The mixture will darken and thicken. The chocolate aroma at this point signals it is almost done
- Adding Nuts:
- If you want nuts measure and chop them to bite sized pieces. Stir them into the hot fudge immediately after its final microwave session so they are evenly distributed. The residual heat will help meld the flavors
- Cooling:
- Quickly pour your mixture into the prepared pan. Level the top with a spatula for smooth bars. Place in the refrigerator for about one hour until the fudge is firm to the touch. Lift out of the pan and cut into squares. Once chilled and set it is ready to enjoy
I always use toasted pecans when I have them and watching kids try to guess what is inside is a family tradition. This fudge was one of the first treats I made solo as a child and it always brings back sweet memories with every batch.
Storage tips
Keep leftover fudge in an airtight container in the fridge. It stays fresh for up to seven days. For longer storage freeze individual squares between layers of wax paper in a container. Enjoy cold or let come to room temperature before serving.
Ingredient substitutions
Swap the cocoa powder with finely chopped chocolate bars for a more decadent flavor. You can use coconut condensed milk for a dairy free version or almond extract instead of vanilla for a nutty twist. Skip the nuts or replace with seeds if you prefer.
Serving suggestions
Cut fudge into small cubes for bite sized party treats. Pack a couple pieces into your lunchbox for a sweet afternoon pick me up. Drizzle melted white chocolate on top or dust with powdered sugar for a festive finish.
Cultural and historical context
Chocolate fudge became popular as a quick homemade indulgence in America during the late nineteenth century. Ever since people have loved creating variations using what they had on hand. The microwave version is a modern shortcut that keeps the tradition alive.
Seasonal adaptations
Sprinkle crushed candy canes on the fudge for the winter holidays. Add orange zest for a fresh summertime twist. Top with pastel sprinkles for spring parties or birthdays.
Success stories
Many readers share their fudge photos after making it as a last minute bake sale entry. It is always a hit. Even my neighbor who swore she could not cook asked for the recipe after trying it. This is a great confidence builder for new cooks.
Freezer meal conversion
This fudge freezes beautifully and can be made up to three months in advance. Wrap tightly in plastic and foil. Freeze in a block or pre portioned squares. Thaw in the fridge overnight and you are set for any sudden celebration.
This fudge is the perfect last minute treat. With so many ways to make it your own, you will reach for this recipe again and again.
Common Recipe Questions
- → Can I make this fudge without nuts?
Absolutely, nuts are optional. The fudge remains smooth, creamy, and delicious without them.
- → Which kind of cocoa powder is best?
Use unsweetened, high-quality cocoa powder to enhance the rich chocolate flavor of your fudge.
- → How do I prevent the fudge from sticking to the pan?
Line your baking dish with parchment paper or use a silicone mold to make removing the fudge easy.
- → Can I add toppings like sea salt or coconut?
Yes! Sprinkle with sea salt, coconut, or drizzle caramel before chilling for an extra twist.
- → How long does this fudge keep?
Store in an airtight container in the fridge for up to a week for best freshness and texture.
- → Is this safe for kids to make?
Kids can help mix ingredients, but adults should handle the hot bowl from the microwave.