
 Bookmark
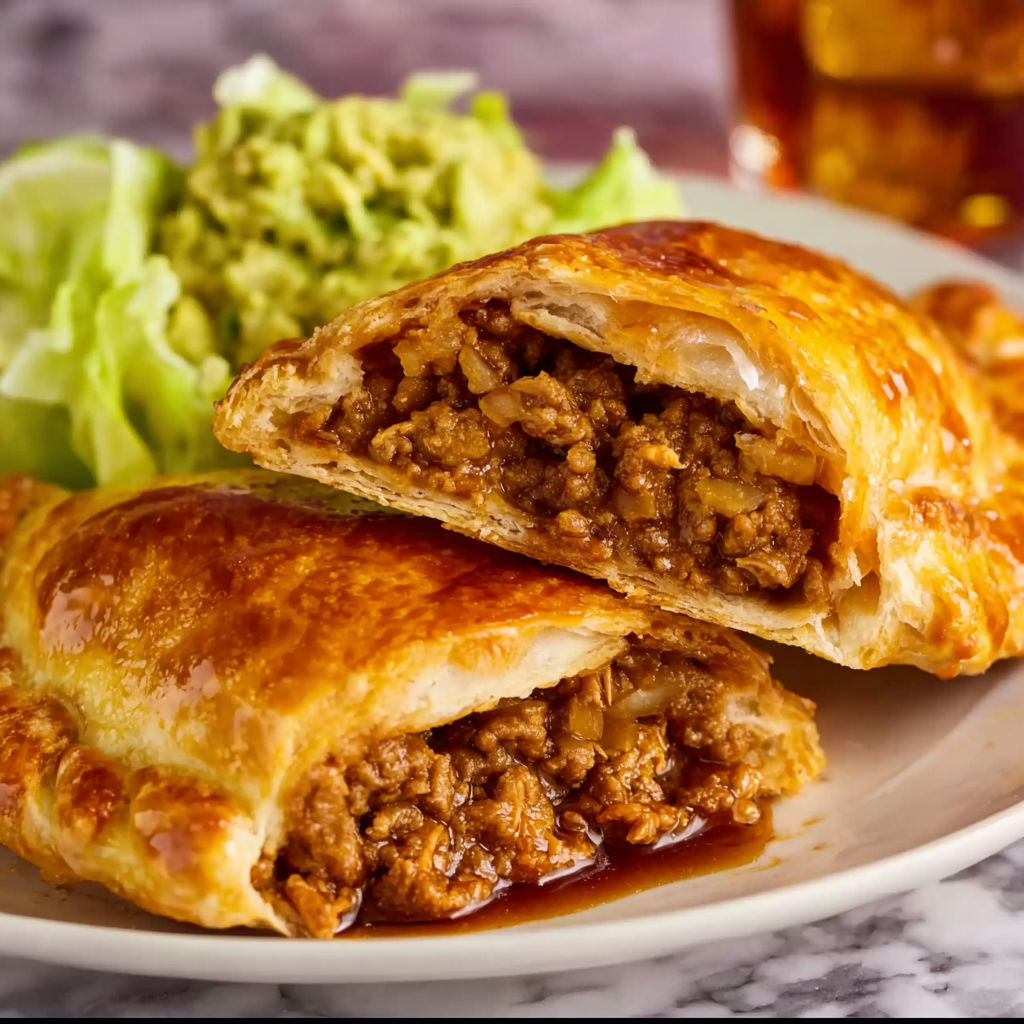
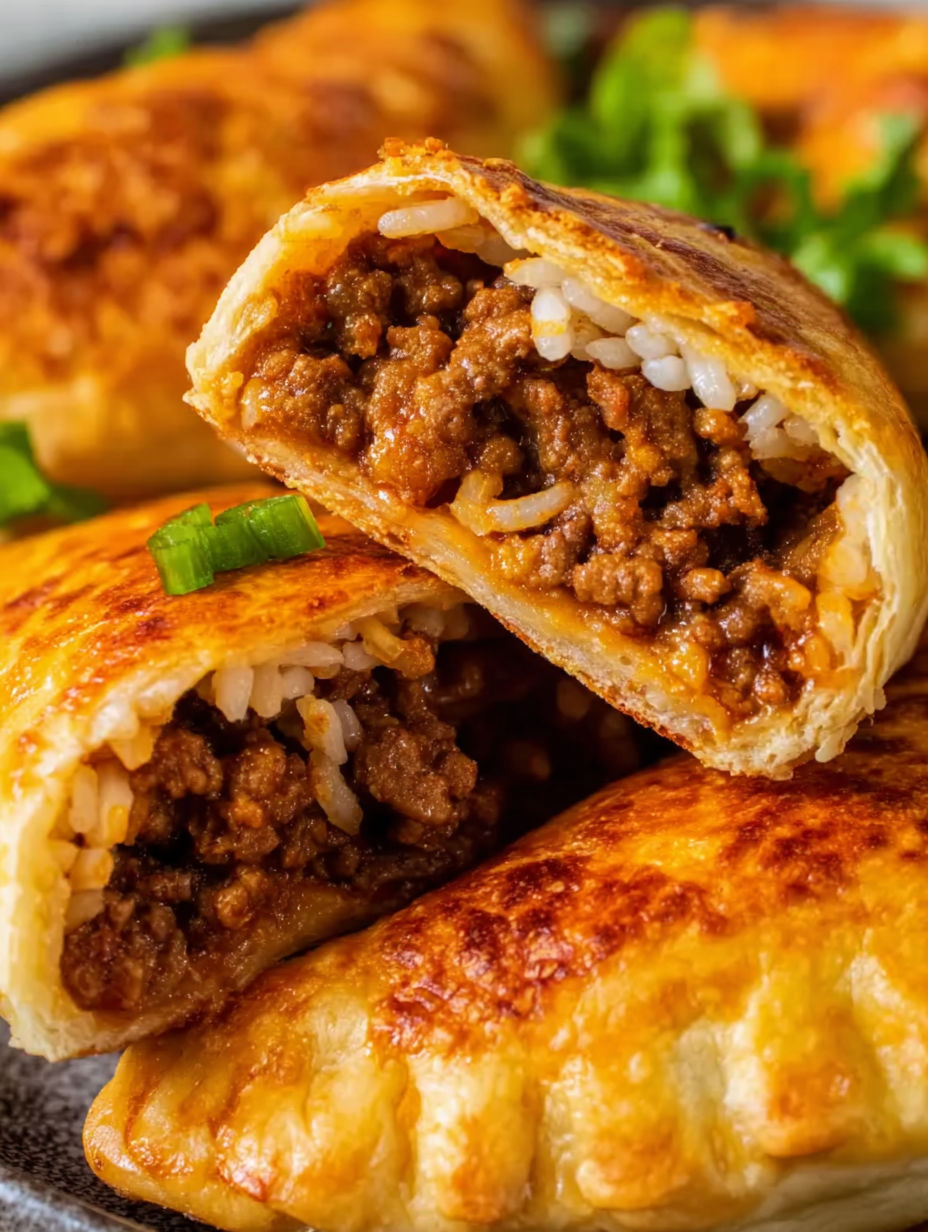
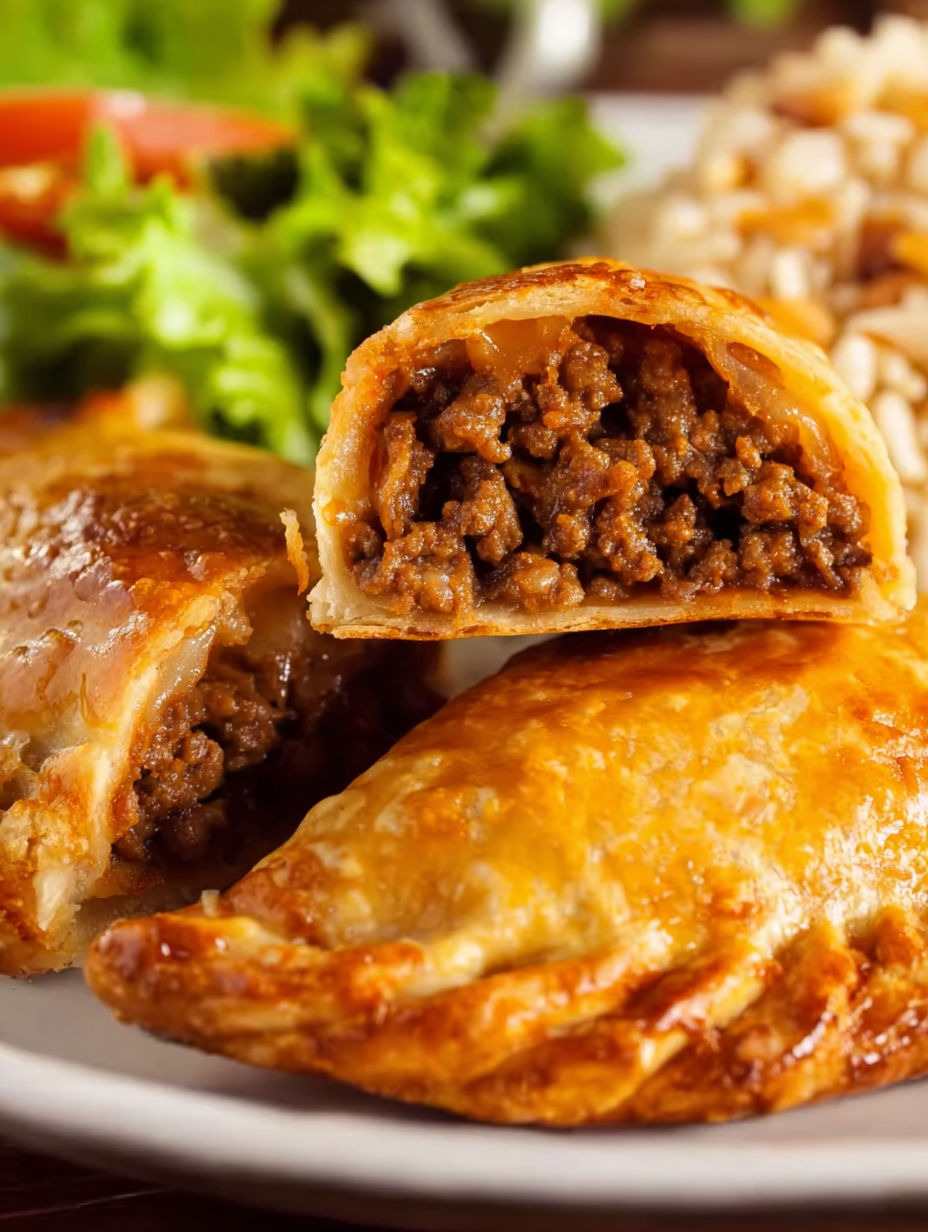
Taco Pockets are the answer to busy weeknights and hungry tummies when time is short but you want a meal everyone will cheer for. These golden biscuit-wrapped pockets are stuffed with savory taco meat, gooey cheese and tangy salsa then baked until crisp and piping hot on the inside. My family loves to gather around and help assemble them, and even the picky eaters dive right in. This recipe brings the fun of taco night into an easy-to-hold baked treat that is just as good for parties as it is for weekday dinners.
I started making Taco Pockets when my son had friends sleep over and needed something simple but special that everyone would eat without fuss. Now even grownups request them for Sunday game days or lazy movie nights.
Ingredients
- Ground beef: choose beef with some fat for flavor or try ground turkey or chicken for a lighter version look for fresh pink meat without lots of liquid in the packaging
- Taco seasoning packet: your favorite brand or make your own for less salt or more heat check for a short list of ingredients if you want fewer additives
- Water: helps blend and activate the seasoning select filtered for purest taste
- Salsa: adds moisture and zippy flavor pick your favorite from mild to spicy check for chunky salsa for texture or smooth for spreadability
- Buttermilk biscuits: sturdy and fluffy choose canned Grands style with eight biscuits which roll out best look for sell by date for freshness
- Monterey Jack cheese: melts beautifully and has a mild bite try cheddar pepper jack or a Mexican cheese blend if you prefer always shred your own cheese for better melt and flavor if possible
- Egg for brushing: adds shiny golden color on top get the freshest eggs for richer color though you can skip this if needed
Instructions
- Prepare the Oven and Sheet Pan:
- Set your oven to 375 degrees Fahrenheit and let it preheat fully to ensure even baking. Line a baking sheet with parchment paper or spray lightly with oil so the biscuit bottoms get crispy not soggy.
- Cook the Taco Meat:
- Heat a large skillet over medium high. Add ground beef and break it up as it cooks stirring often until no pink remains and the meat is starting to brown which develops the best flavor. Drain off extra fat for a less greasy filling.
- Season the Beef:
- Sprinkle taco seasoning over the cooked meat then add water and salsa. Stir to coat every piece and let it simmer on medium until thick and most of the liquid cooks off for about three to five minutes. This keeps the pockets from getting soggy later.
- Flatten the Biscuits:
- Open the biscuit can and separate each biscuit. Place them on a lightly floured surface and press into flat rounds about six inches across either with your hands or gently use a rolling pin. Thinner edges prevent doughy bites and create a bigger pocket.
- Fill and Top with Cheese:
- Place one third cup of the taco mixture in the middle of each round. Add a small handful of shredded cheese on top so it melts around the meat in the oven. Do not overfill or sealing will be tricky.
- Fold and Seal:
- Fold each biscuit over to create a half moon and pinch the edges together tightly. Press with a fork for extra seal so nothing leaks. If you have trouble sealing dip a finger in water and run around the dough edge first.
- Add Egg Wash and Arrange for Baking:
- Place sealed pockets onto the prepared baking sheet with a little space between. Beat the egg and brush tops of each pocket so they turn a deep golden color in the oven.
- Bake the Pockets:
- Slide the tray into your preheated oven and bake for twelve to fifteen minutes or until tops are puffed and golden brown the dough should be cooked through without any damp spots underneath.
- Cool and Serve:
- Allow to cool a few minutes so the filling sets before serving. These are best warm with more salsa or a dollop of sour cream for dipping.
My favorite part about this recipe is choosing the cheese Monterey Jack is so creamy and mellow and my youngest always insists on adding extra cheese inside her pocket. These have become the go-to snack at my nephews birthday parties where the kids race to see who can crimp their edges the fanciest.
Storage Tips
Keep leftover taco pockets in a sealed container in the fridge for up to three days. For best results reheat in the oven so the outside stays crisp but they can also go in the microwave for quick lunches.
Ingredient Substitutions
Try ground chicken or turkey for a lighter bite. Cheddar or pepper jack bring even more flavor variation. If you are out of biscuit dough you can experiment with pizza dough or puff pastry but make sure to cut circles and watch the bake time closely.
Serving Suggestions
Taco pockets pair beautifully with Spanish rice black beans a simple green salad or even a corn salsa. For family movie nights I sometimes offer a trio of dipping sauces like queso sour cream and chunky salsa.
Cultural Notes
While traditional tacos use corn or flour tortillas this playful riff uses American canned biscuits to become a cross between hand pies and the beloved flavor of Tex Mex tacos. Making them with kids is also a fun way to pass on kitchen traditions in a new and approachable form.
Seasonal Adaptations
Mix in fresh corn kernels or diced peppers in summer for color and sweetness. Add canned pumpkin or butternut squash to the meat mixture in fall for earthy warmth. Use a fiery salsa or hot sauce in winter for extra heat and comfort.
Success Stories
A friend once doubled the batch for her daughter’s soccer team and the pockets vanished faster than cupcakes. Another reader wrote that she used spicy salsa and pepper jack cheese for her book club and everyone wanted the recipe by the end of the night.
Freezer Meal Conversion
Freeze shaped but unbaked pockets on a tray until solid then keep in a zip top bag for later. Bake straight from frozen at 375 degrees for eighteen to twenty two minutes and dinner is on the table in no time.
A batch of these keeps even the most skeptical eaters happy and is a great way to add veggies in sneakily especially with a chunky salsa or beans.
Common Recipe Questions
- → What can I add to the filling?
Black beans, corn, or diced bell peppers can be added for extra flavor and nutrition. Swap out cheese types for variety.
- → How can I make them spicier?
Mix in diced jalapeños, cayenne, or spicy salsa to add heat to your meat mixture before baking.
- → What side dishes go well?
Pair with Spanish rice, side salads, or steamed vegetables for a balanced meal that complements the flavors.
- → Can I substitute the dough?
Sturdy options like pizza dough or puff pastry may work, though baking times and texture may vary.
- → How do I freeze and reheat them?
Freeze unbaked pockets and bake from frozen. To reheat, use an oven or microwave until warmed through.
- → How should leftovers be stored?
Store in an airtight container in the refrigerator for up to 3 days for easy snacking or another meal.