
 Bookmark
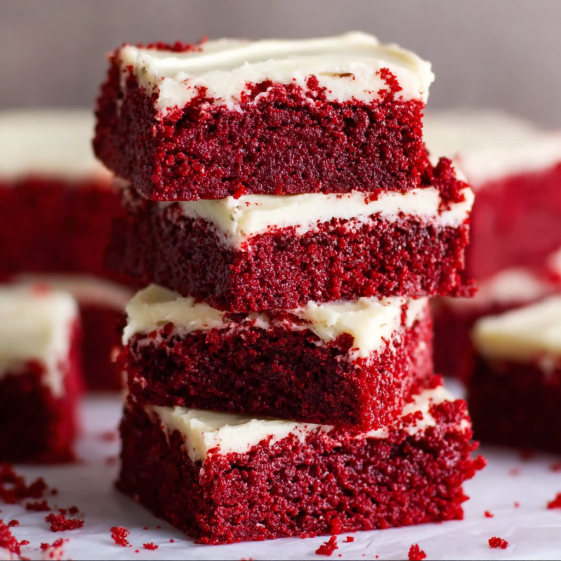
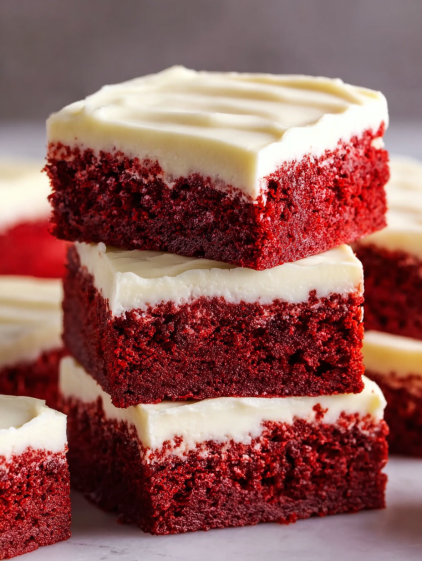
These fudgy Red Velvet Brownies are my favorite way to serve up a classic dessert with an unexpected twist. Rich cocoa flavor brightens up with a hint of tangy cream cheese frosting and that signature beautiful red crumb. Whenever I take these to school events or potlucks, not a crumb comes home with me.
I first made these for Valentine’s Day and now my husband asks for them on every holiday. They have become my go-to for making any occasion feel just a bit more special.
Ingredients
- All-purpose flour: brings structure so the brownies hold together nicely. Spoon and level to avoid dry texture
- Unsweetened cocoa powder: adds chocolate depth to the classic red velvet flavor. A good quality brand really makes a difference
- Baking soda: helps give just the right amount of lift for that soft crumb
- Light brown sugar: keeps brownies extra moist and brings a touch of molasses flavor
- Salted butter: gives a rich dairy base and eliminates the need to add more salt
- Large eggs: bring moisture and help brownies set. Best if at room temperature for smooth mixing
- Vanilla extract: adds warmth and aroma. I like a pure vanilla for best results
- Red food coloring gel: provides vibrant color that stands out. The gel gives deeper color without thinning the batter
- Cream cheese: soft and at room temperature makes the frosting super smooth and tangy
- Powdered sugar: blends easily into the frosting for a creamy consistency with no grittiness
Every ingredient brings a special touch so try not to make too many swaps on your first batch.
Step-by-Step Instructions
- Prepare the Baking Dish:
- Line a nine-inch square baking dish with parchment paper and coat lightly with spray. This step makes removing the brownies clean and easy later
- Mix Dry Ingredients:
- Combine flour cocoa powder and baking soda in a large bowl. Stir until fully blended This ensures the brownies bake with even color and texture
- Make the Sugar Mixture:
- In a second large bowl whisk brown sugar with melted butter until the mixture is glossy and smooth. This helps set the brownie’s soft chewy bite
- Add Eggs and Flavorings:
- Whisk in eggs and vanilla extract until fully incorporated. Follow with the red gel food coloring mixing until the batter is strikingly red and uniform in color
- Combine Wet and Dry:
- Add the dry flour mixture to the wet sugar mixture. Stir gently but thoroughly scraping all the way to the bottom to make sure there are no dry pockets. Batter will be dense and rich
- Bake:
- Pour the finished batter into the prepared pan and smooth the top with a spatula Bake in a three hundred fifty degree oven for about twenty five to thirty minutes Check doneness with a toothpick aiming for moist crumbs rather than a totally clean stick
- Make the Frosting:
- While brownies cool beat together the cream cheese and softened butter with a hand mixer. Add powdered sugar gradually then vanilla Whip until light and fluffy This will spread easily and taste tangy sweet
- Finish and Serve:
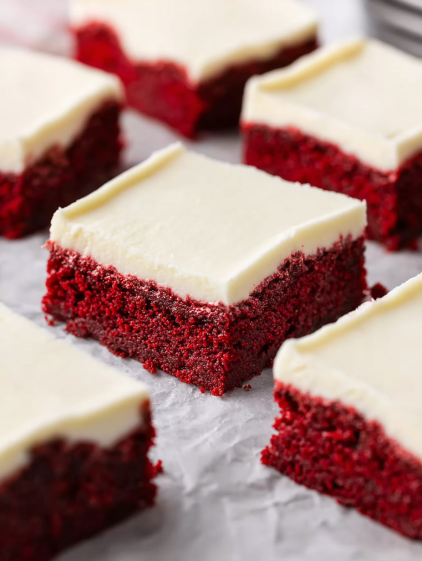
- When bars are completely cool gently spread frosting over the top using an offset spatula or butter knife. Slice into neat squares and enjoy
My favorite part is the frosting Because my mom used to sneak a spoonful while we baked and now I do the same with my daughter These brownies quickly became our kitchen tradition
Storage Tips
Keep Red Velvet Brownies in an airtight container in the refrigerator for up to a week. For best texture let them sit at room temperature for about thirty minutes before eating. If you want to store them longer wrap individually and freeze up to three months. Thaw in the fridge overnight
Ingredient Substitutions
If you do not have brown sugar you can use half white sugar plus a teaspoon of molasses for each cup. For a richer cocoa kick try Dutch process cocoa in place of regular unsweetened. No food coloring gel Use a concentrated liquid and reduce any added liquid in the recipe
Serving Suggestions
Serve these at showers weddings holidays or birthday celebrations. They look stunning on a dessert platter. For a kid friendly party add sprinkles or mini chocolate chips over the frosting. At adult gatherings a few chopped walnuts on top makes them irresistible
Cultural and Historical Context
Red velvet has its roots in American baking dating back to early twentieth century Southern kitchens. The vibrant red became especially popular in the age of home-baked cakes and has never truly left the dessert scene. Classic red velvet relies on buttermilk and cocoa for flavor but these brownies bring all the nostalgia in a simple bake
Common Recipe Questions
- → Can I prepare these using a boxed mix?
Yes, you can opt for a boxed red velvet mix as a shortcut. Just follow the package instructions and add your frosting of choice.
- → Is it possible to double the batch?
Absolutely! Simply use a 9×13-inch baking dish and adjust the baking time as needed to ensure a fudgy center.
- → Are there alternatives to cream cheese frosting?
Vanilla, buttercream, or white chocolate frostings all pair well with these brownies if you want to try something different.
- → What fun toppings can I add?
Mini chocolate chips, walnuts, or sprinkles make great decorative and flavorful additions to each piece.
- → Can these be stored at room temperature?
No, due to the cream cheese topping, refrigeration is necessary. Bring to room temp before serving for best texture.
- → How long do they keep, and can I freeze them?
Stored in the fridge, they'll keep for up to a week. You can also freeze them for up to three months for future treats.