
 Bookmark
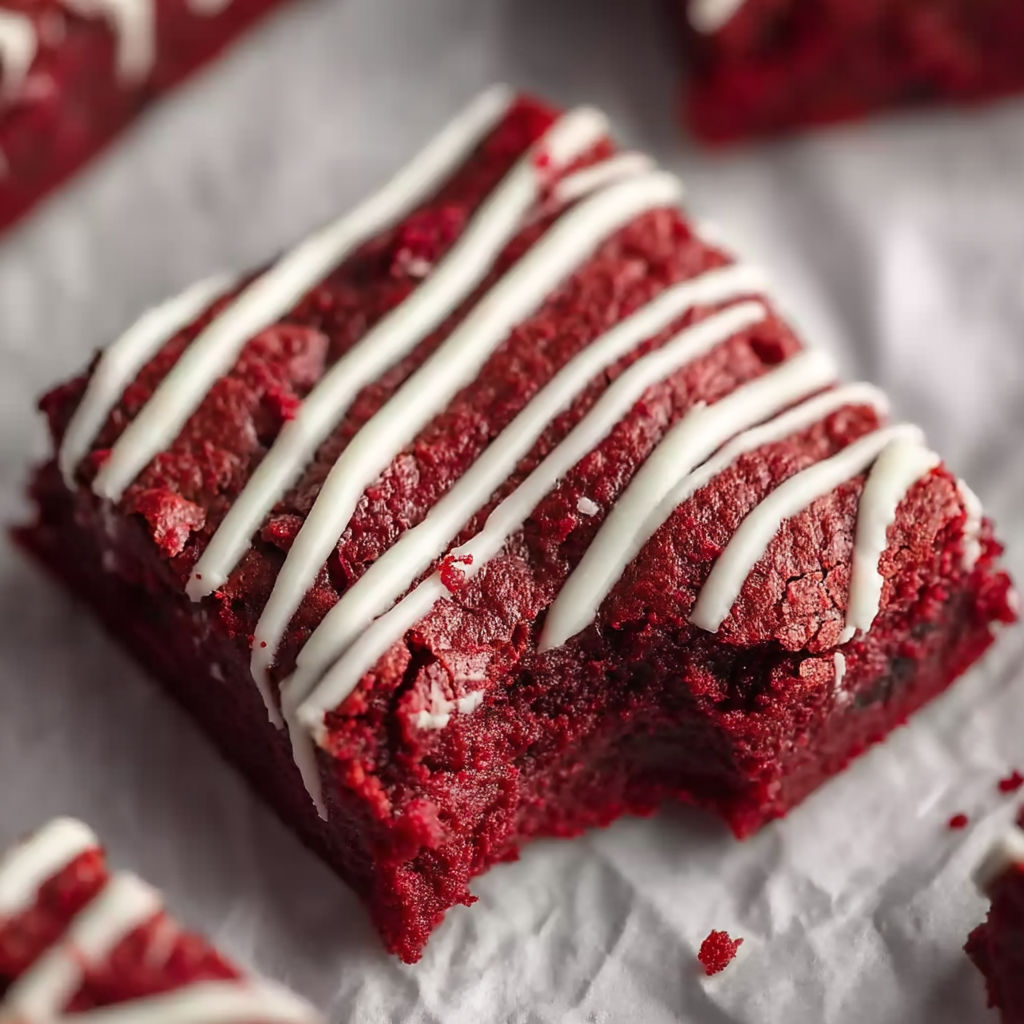
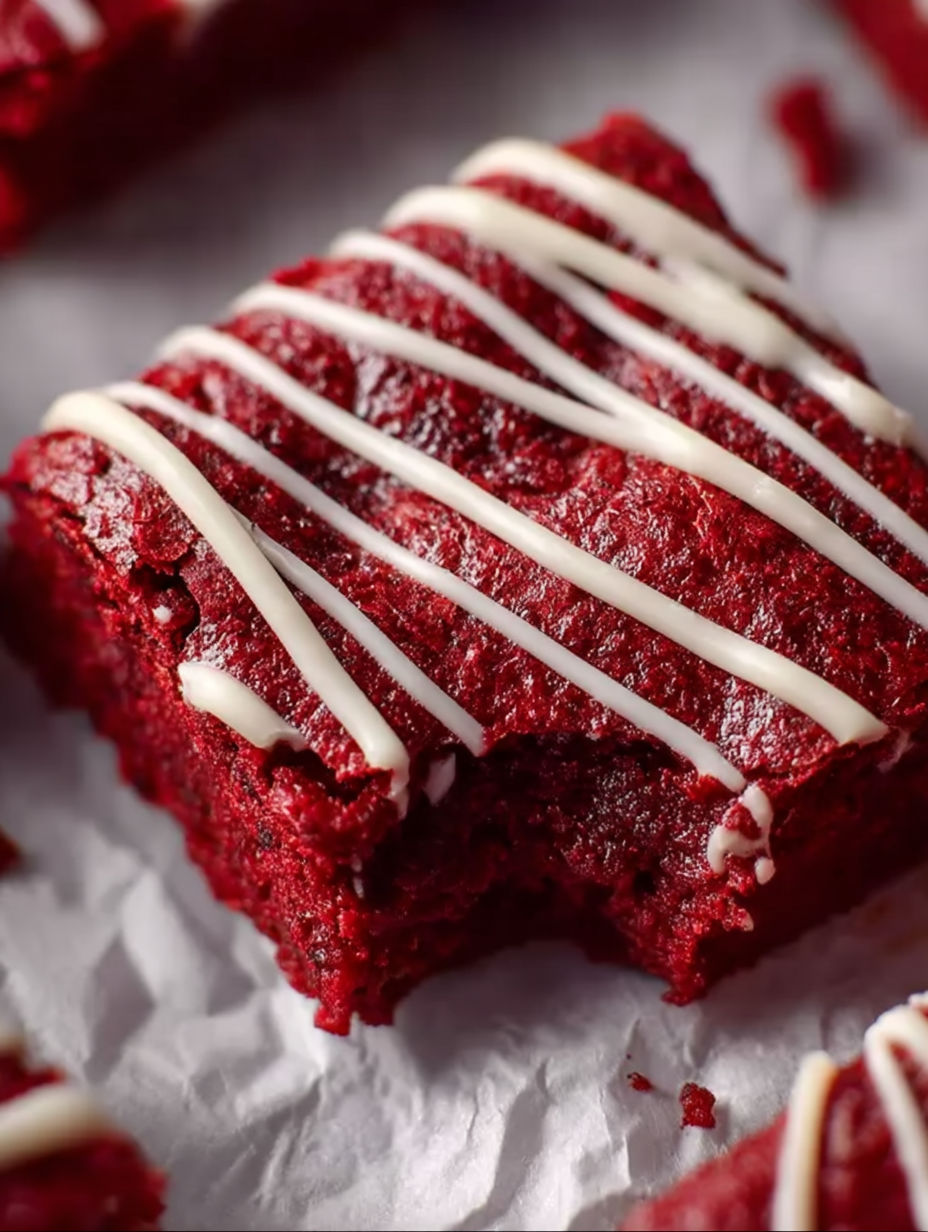
These fudgy red velvet brownies combine rich chocolate with that unmistakable red velvet tang for a dessert that melts in your mouth. Whether you’re celebrating a special occasion or simply craving something irresistible, these brownies deliver moist, dense, and deeply flavorful bites that satisfy every time.
I first baked these for a friend’s birthday and was amazed at how quickly they disappeared. Now they are my go—to for any party or gathering because everyone loves that perfect balance of chocolate and that subtle tangy red velvet flavor.
Ingredients
- Butter: brings richness and creates the signature fudgy texture opt for unsalted for better control
- Chopped semi—sweet chocolate: provides deep cocoa flavor use good—quality chocolate for best results
- Granulated sugar: sweetens evenly and helps achieve a glossy top
- Eggs: add structure and chewiness to the brownies room temperature eggs mix more easily
- Vanilla extract: enhances the overall chocolate flavor pure extract is worth the splurge
- White vinegar: gives the classic red velvet tang it reacts with cocoa powder and baking soda for that true flavor
- Red gel food coloring: delivers vibrant color without watering down the batter gel is better than liquid here
- Unsweetened cocoa powder: adds mild chocolate notes use natural cocoa for that acidic reaction with vinegar
- All—purpose flour: creates the structure measure carefully to avoid dense brownies
- Salt: balances sweetness and intensifies the chocolate and red velvet flavors
Instructions
- Sift the Dry Ingredients:
- Combine the cocoa powder, all—purpose flour, and salt in a large bowl. Sifting ensures no lumps and a light texture in your brownies.
- Melt the Butter and Chocolate:
- Place butter and chopped semi—sweet chocolate in a microwave—safe bowl. Heat in 30—second increments, stirring thoroughly between each, until fully melted and smooth. Using a whisk, blend the mixture for a shiny finish.
- Incorporate Sugar:
- Add granulated sugar to the warm butter chocolate mixture. Beat with an electric mixer on medium speed until fully incorporated and slightly glossy. This step helps dissolve the sugar properly for a smooth batter.
- Add Eggs One by One:
- Crack eggs into the mixture, beating well after each addition. This incorporation helps create a tender, chewy crumb. Stir in the vanilla extract, white vinegar, and gel red food coloring next.
- Combine Wet and Dry:
- Pour the sifted dry ingredients gradually into the wet mixture. Use a spatula or low mixer setting and mix just until combined. Over—mixing will toughen the brownies, so be gentle to preserve fudginess.
- Optional Mix—Ins:
- If you want extra texture, fold in white chocolate chips or chopped nuts using a spatula. Make sure the chips are evenly distributed without breaking the batter’s delicate structure.
- Prepare and Bake:
- Line or grease an 8 by 8—inch baking pan with parchment paper. Pour the batter evenly into the pan, scraping every last drop from the bowl. Bake at 350 degrees Fahrenheit or 175 degrees Celsius for about 30 to 35 minutes. Insert a toothpick in the center to test doneness, it should come out with moist crumbs, never wet batter.
- Cool Completely:
- Remove from oven and let brownies cool in the pan on a wire rack. Cooling fully is crucial for clean slicing and allows the fudgy texture to set perfectly.
My favorite ingredient here has to be the white vinegar. It’s surprising how a little vinegar can elevate the chocolate and create that unique red velvet taste. Whenever I make these, family and friends comment on the unmistakable flavor that separates these brownies from any other chocolate treat.
Storage Tips
Store cooled brownies in an airtight container at room temperature up to three days. For longer storage refrigerate up to a week or freeze in airtight containers or bags for up to two months. When freezing I like to separate layers with parchment paper to avoid sticking and to keep the edges crisp.
Ingredient Substitutions
If you don’t have semi—sweet chocolate bars feel free to use good—quality chocolate chips or chopped baking chocolate. Natural vinegar like apple cider vinegar works well too but stick to white vinegar for that classic red velvet flavor. For a dairy—free version swap butter with coconut oil or vegan butter alternatives but expect a slightly altered texture and flavor.
Serving Suggestions
Dust with powdered sugar or edible red glitter for festive occasions. Add a swirl of cream cheese frosting tinted pink or light red for an extra creamy contrast. Serve alongside cold milk or a scoop of vanilla ice cream to balance the rich fudginess.
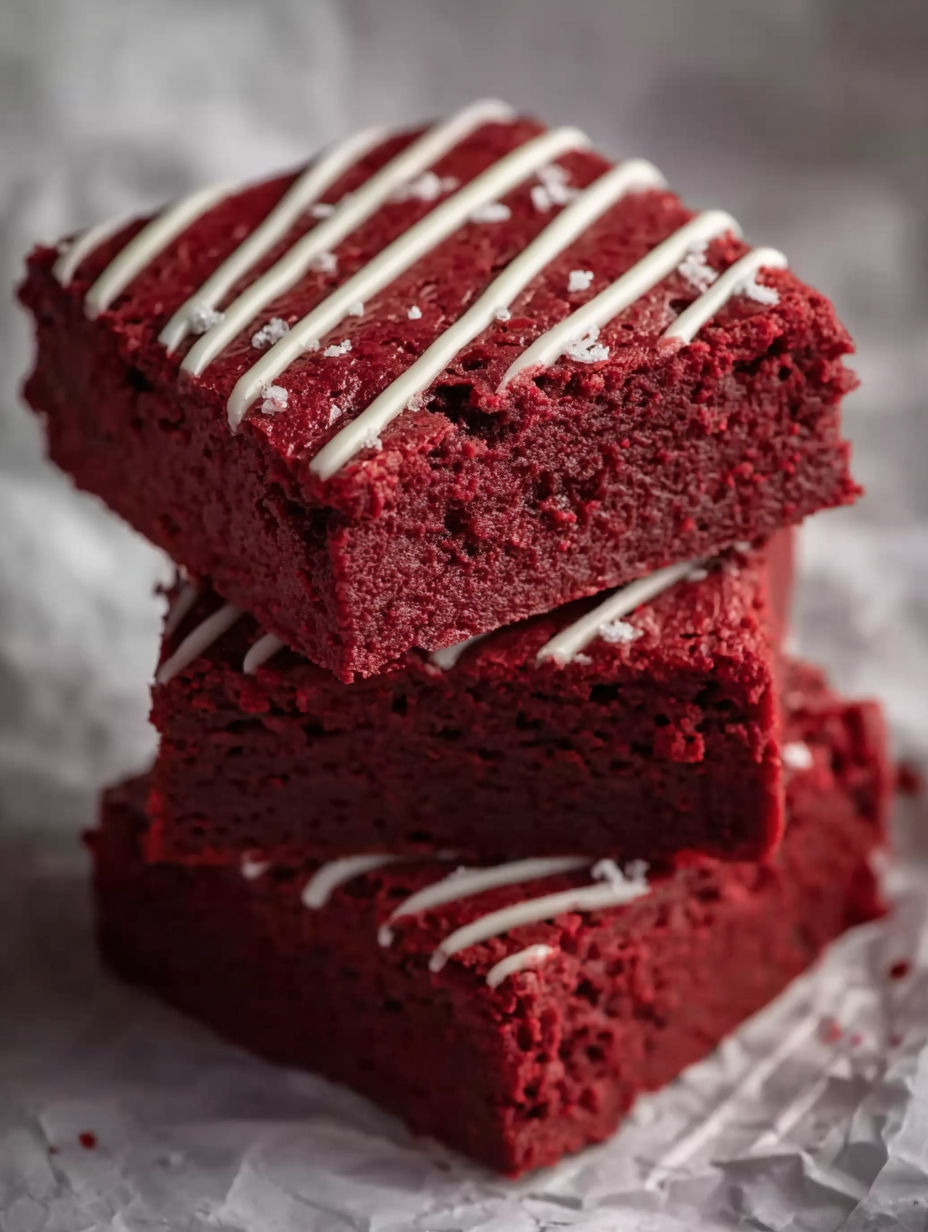
These fudgy red velvet brownies are a showstopper for any occasion. Let them cool completely before slicing for clean perfect squares.
Common Recipe Questions
- → What makes red velvet brownies different?
Red velvet brownies feature a delicate balance of mild cocoa bitterness and tangy notes from vinegar or buttermilk, giving them a unique flavor and vibrant red color.
- → How do I get fudgy brownies every time?
Avoid over-mixing the batter and bake until a toothpick shows moist crumbs. This ensures a soft, chewy texture with rich fudginess.
- → Can I add toppings to enhance flavor?
Yes, toppings like powdered sugar, heart-shaped candies, or cream cheese frosting with red tint add festive flavor and visual appeal.
- → How should leftovers be stored?
Keep brownies in an airtight container at room temperature for up to 3 days, in the fridge for a week, or freeze for up to 2 months.
- → What mix-ins work well in these brownies?
White chocolate chips, chopped nuts, or swirls of peanut butter or caramel sauce add delightful texture and flavor variations.
- → Why use gel food coloring in these brownies?
Gel coloring provides a vibrant red hue without adding extra liquid, preserving the batter’s texture and appearance.